Categories
Activities
Displaying: All / All
Join the Dagger Email Community
Be the first to know about new products, team news and events.
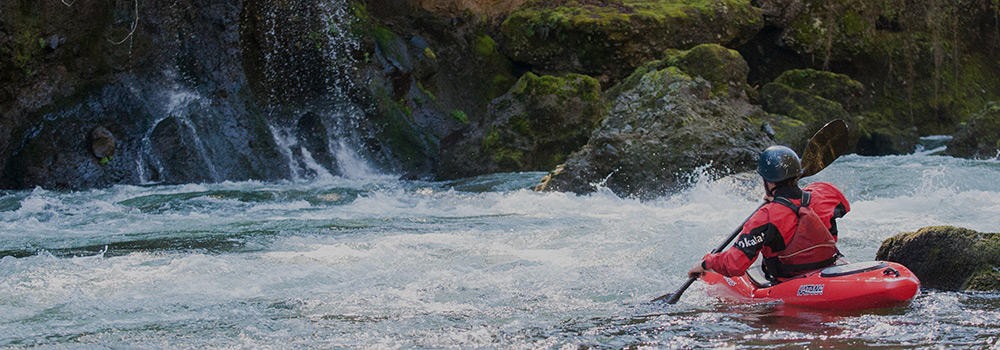
With spring right around the corner here in the southeast and rain in the forecast I thought I’d share a bit about outfitting your Dagger kayak. The great thing about Dagger’s outfitting is that it strikes a nice balance of being functional but still very easy to adjust and set up. To outfit my new boat in its entirety usually takes me between 10-20 minutes and then I have a boat that’s fully customized to me. We’ll take this in stages starting with:
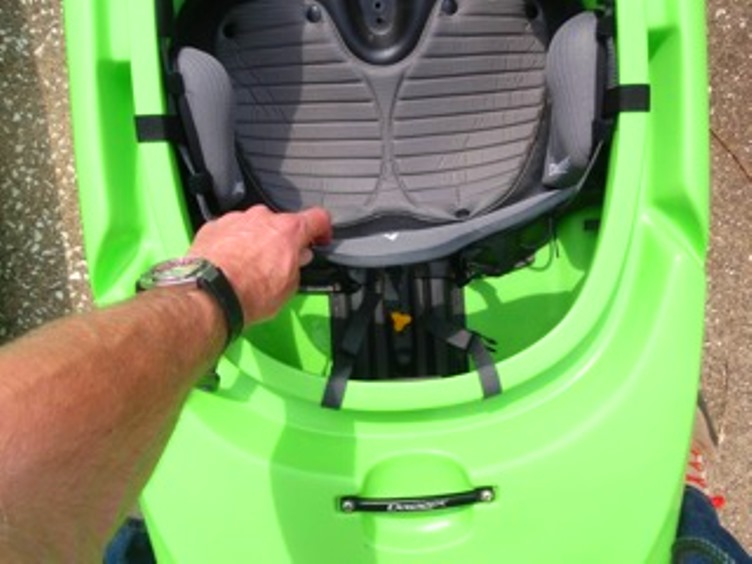
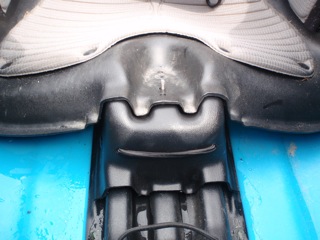
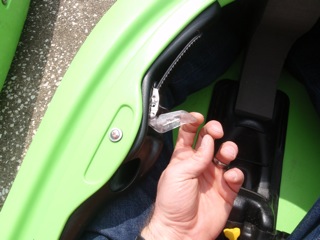
Dagger makes two types of seats. The first is the play seat which comes in the Agent, Axiom, and Mamba (unless you special order the creek seat in the Mamba). This seat is very easy to adjust, simply unscrew the yellow wingnuts at the front and back of the seat, lift up, and the seat will slide forward and back (remember to screw the wingnuts back on).
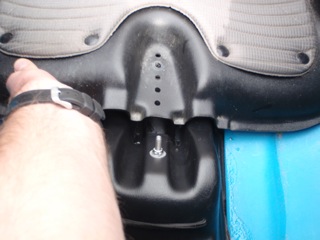
If you are unsure of where to put your seat start in the middle and then adjust from there as you paddle your kayak. Don’t be afraid to change your seat position around, sometimes it takes a bit to find the best one for you. Also in your outfitting kit you’ll notice a plastic wedge with a bolt coming out the top. This is a seat raiser, used to help hold your legs into the thighbraces. To use it just lift the front of the seat up and slide it under the bottom, remembering to screw the yellow wingnut back onto the bolt.
I highly recommend trying this, it provides better control and comfort.
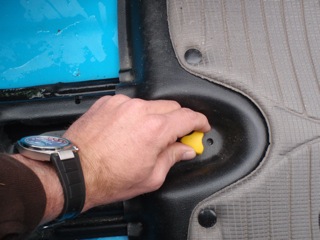
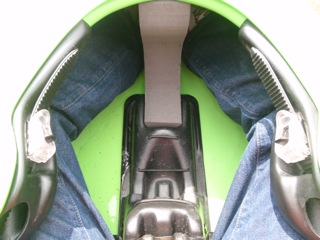
The creek seat, due to its sturdiness, takes just a bit more time to move. For this reason I usually paddle my Nomad or Mamba a bit before moving the seat (in other words make sure you need to before you do it). First you want to completely unscrew the bolt that connects the front of the seat to the center pillar (take care not to lose it the center wall cavity).
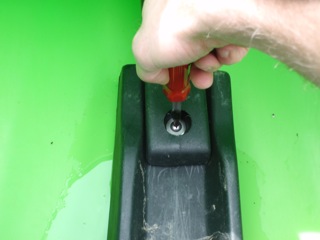
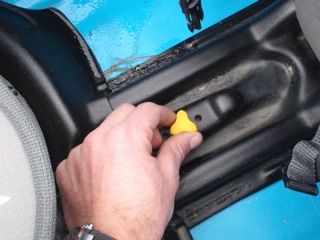
Second loosen but do not completely unscrew the bolts on the sides of the cockpit (these connect the seat to the boat).
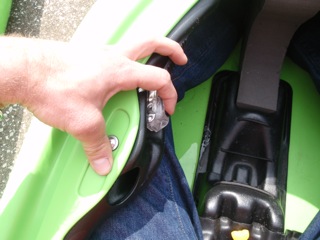
Before moving the seat knock the bolts back down flush with the boat by hitting the top of your screwdriver with your palm.
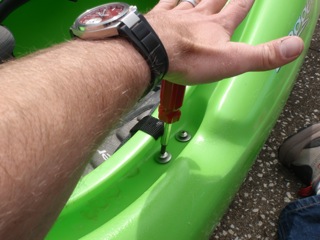
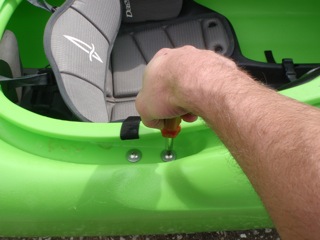
Move the seat to the desired location, keeping in mind to line the front of the seat up with the pre-existing recessed nuts. Retighten and bolt everything.
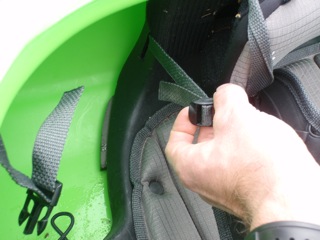
Start by unbuckling the straps that attach the back of the backband to the cockpit in order to allow the full range of movement while adjusting.
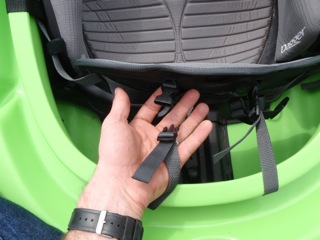
Next position the rachet system so that it’s near but not at the front of the teeth. Now reach behind the backband and pull on the plastic tabs on either side.
This will move the backband forward, stop when the backband is centered over the back of the seat.
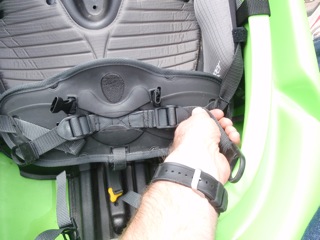
At this point you can re-buckle the straps that attach the backband to the back of the cockpit. You don’t need to make these super tight, allow a little slack. Now sit in your boat and use the ratchets to move the backband forward into a comfortable position. You want the ratchet to be about half way down the teeth when you have the backband where you want it.
If its too far forward or back adjust on the back of the backband accordingly. All set, to get out just release the ratchets.
At this point you no longer have to use the adjustment behind the seat, you can get all the movement you need from the ratchets.
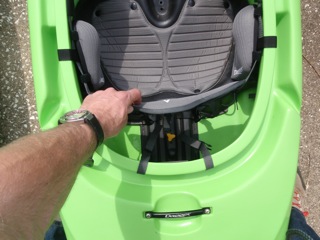
Now pull the hippad off of the Velcro and add foam shims to the pocket on the back until you reach the desired thickness.
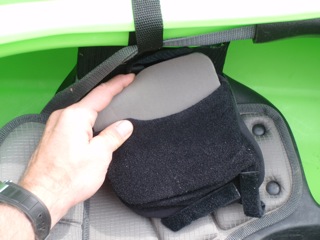
Re-velcro and pull the attachment strap tight. One note, as you re-velcro make sure that you locate the hippads high enough so that the bump on the front is on top of your thigh and in front of your hip. This will help keep your legs from falling asleep.